|
BEDROOM PC | |
Out of the need for another computer related project to amuse myself with, I decided that my bedroom was in need of a PC.
The project was supposed to be quick and simple, but as those who enjoy such endeavours will no, that is never the case.
This PC would have a few fairly basic functions:
Operate as an alarm clock for myself and my wife.
Allow the control of the bedside and bedroom lights - either manual or automatic.
Produce coloured lighting for setting the mood in the room.
In addition, it would have to operate without a mouse or keyboard.
A simple and user friendly control would be required.
The program was written in Visual Basic, and although it was nowhere near as complex as my Touch Screen Project,
it was not a simple piece of code to write.
In order for the user interface to be simple to use, the code had to be - less simple.
Please join me for a brief look at my latest project.
Apologies for the poor quality of the photos taken with a cell phone.
|
CONSTRUCTION | |
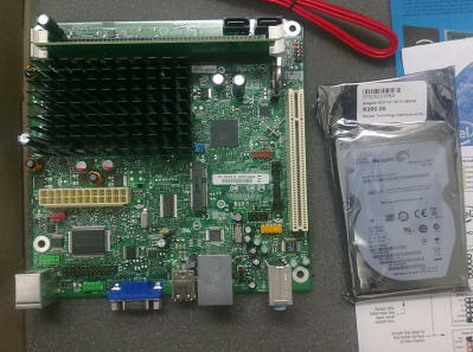
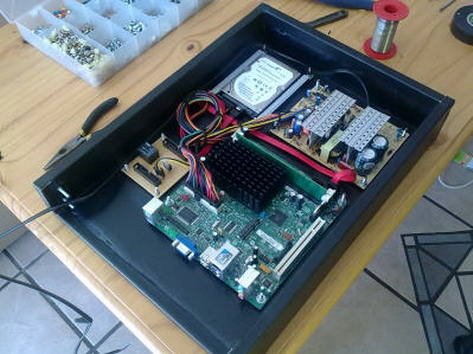
I acquired a very neat little Mini ITX motherboard with integrated processor from Border Technology Distributors.
The whole PC was to be simple and low powered so as not to produce any heat or noise.
Minimal processing power would be required by the application.
I included a 250 Gig laptop hard drive.
The project requires that I drive 2 monitors, but as each monitor displays the same user interface,
I decided to split the cable instead of using a dual output graphics card.
 |
 |
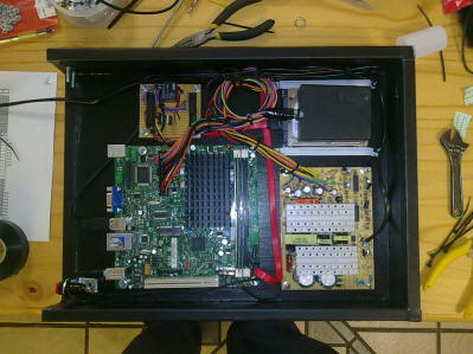
Mini ITX motherboard and hard drive.
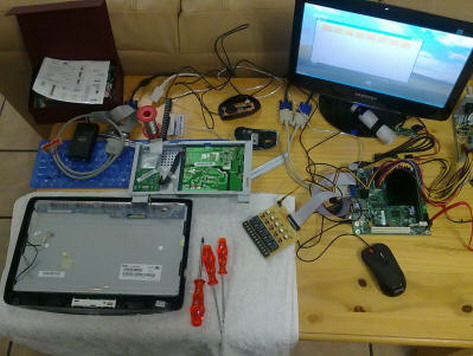
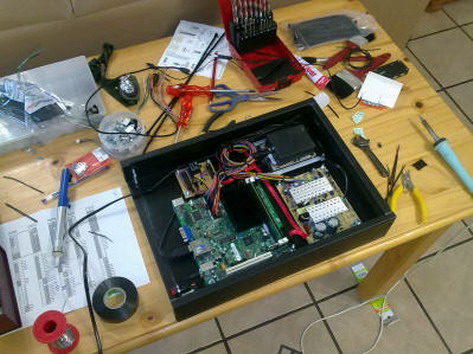
Assembly and testing of hardware as well as software.
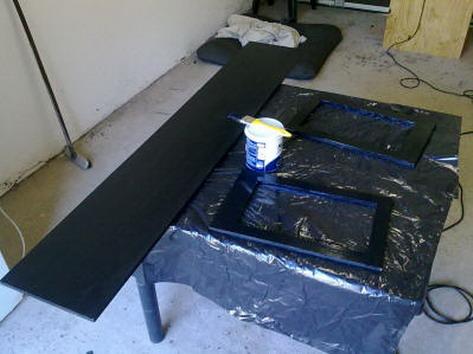
Constructing the Headboard section that would hold the monitors was a little harder than expected.
Wooden frames were made and covered in the same black "leather look" material as the headboard.
The frames were attached to the headboard on a hinged board which would hold the PC.
Only after building the PC onto the back of the headboard did it occur to me that having the EMF from the electronics
that close to my head was not really healthy,
so I rebuilt the PC into a small box of the same look that could be mounted elsewhere in the room.
 |
 |
The wooden frames and the backing are prepared.
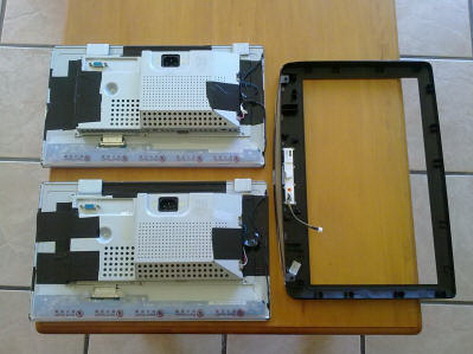
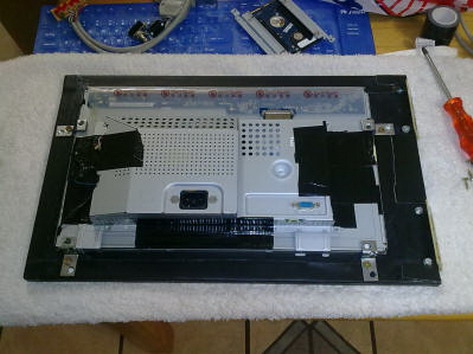
The 15 inch monitor panels are stripped from their housings.
 |
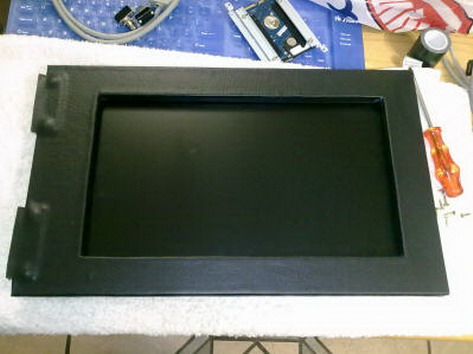 |
The monitor panel is attached to the wooden frame.
Front view of the monitor in the frame.
 |
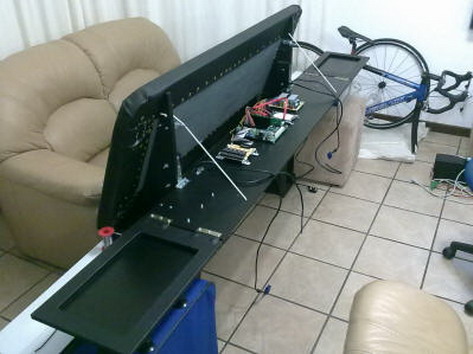 |
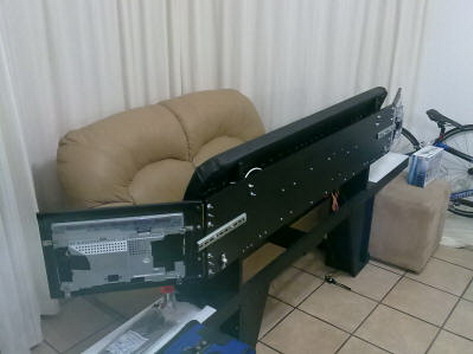
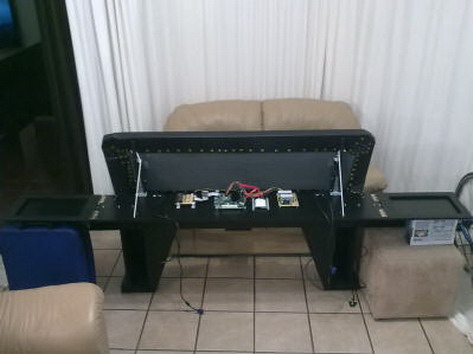
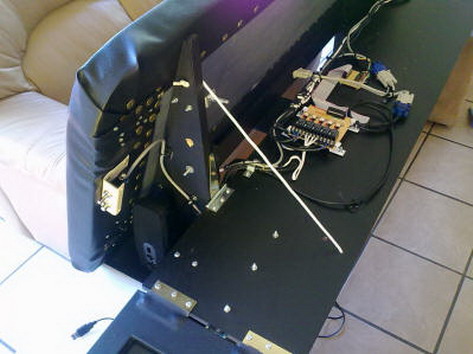
The monitors and the wooden mounting board are attached to the headboard.
Dropped back into the maintenance position.
 |
 |
The PC is build onto the mounting board, but is later removed.
Back view.
 |
 |
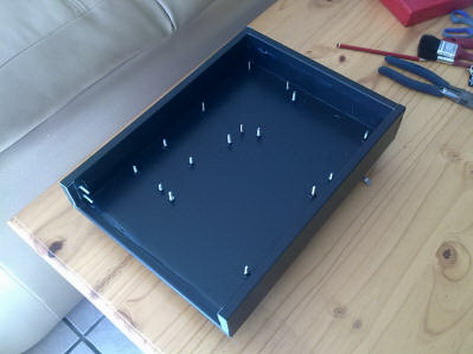
box of similar appearance is built to house the PC against the wall.
The PC is built into the new box.
 |
 |
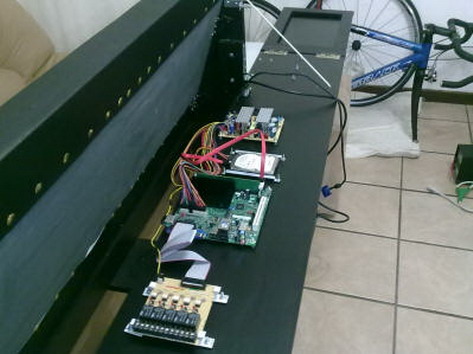
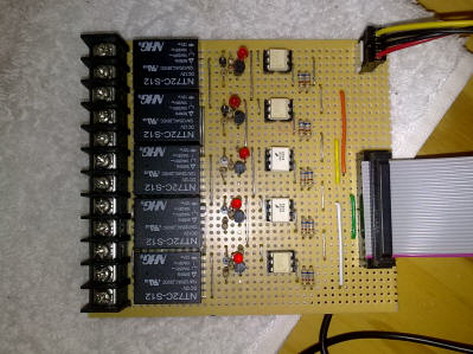
Only the Light Controller board is left on the headboard. The two switches that will allow for control are visible on the left.
The PC takes shape on my temporary work bench.
 |
 |
The light controller board was build to do the switching of the lights in the room as well as the monitors.
Top view.
 |
The completed PC.
THE RIBBON CABLE
Now that the PC was physically separated from the headboard containing the monitors, speakers and control switches -
a means of connecting the two sides would be required.
I used a 26 way ribbon cable to join the two halves.
This cable carries the following:
The switching of the lights and the monitors via the parallel port of the PC.
The audio is carried to the speakers.
Switched power is sent to drive the speakers.
Both left and right control switches return their information to a keyboard controller.
That made the design of the ribbon cable interface a little tricky.
CONTROL
Controlling the user interface is done by an identical set of switches on either side of the bed, hiding just out of sight.
One switch is a push to make and the other is a toggle switch with an up and down selection.
Each user controls only the functions relating to themselves with the switches on their side of the bed.
|
SOFTWARE | |
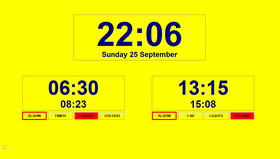
The user interface is broken into 3 sections.
The time and date is collected from windows and cannot be changed.
User 1's alarm on the left allows for:
Setting of the alarm,
Setting the turn off timer - sleep timer,
Turning lights and monitors on or off,
Changing the colour of the screen.
User 2's alarm on the right has the same functionality, but for its user only.
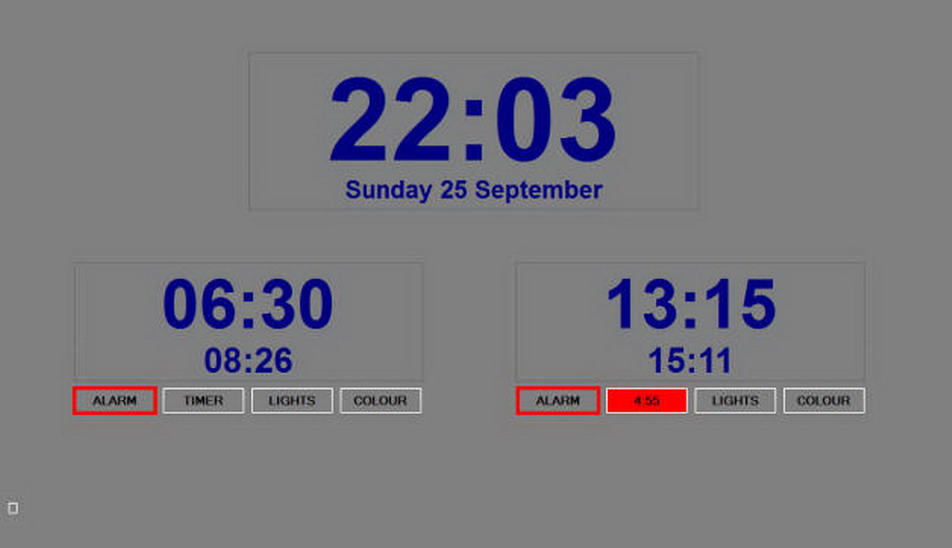 |
ALARM:
The user moves through the digits of the alarm time, changing them until the desired time is reached.
The ALARM button allows the alarm to be turned on or off.
TIMER:
Here the user increments the TIMER button value to the desired number of minutes.
Once completed the timer switches the lights and monitor off.
LIGHTS:
The user is able to switch lights and monitors on or off either manually or automatically with the LIGHT button.
COLOUR:
The colour of the monitor background can be selected here in order to create the appropriate mood lighting.
ADDITIONALLY:
Pressing the PTM button will turn the monitor on regardless of its current state.
Pressing the UP button will cause the PC to audibly speak the time.
When the alarm goes off, the lights and monitors turn on, the user is greeted by name and told what the time is.
He can then choose to turn off the alarm or press the snooze button.
His selection is confirmed by an audible voice.
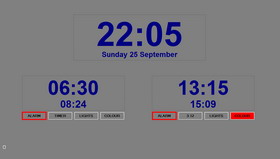
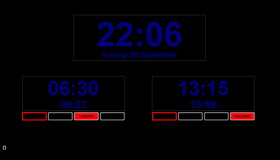
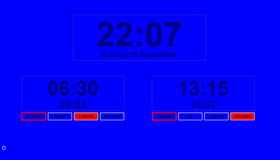
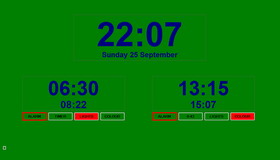
COLOURS
The background colours available to the user:
 |
 |
 |
 |
 |
 |
For those who are interested in Visual basic Programming:
The parallel port allows for easy control of external IO - the lights in this case.
The problem is that unlike VB6, VB2008 does not allow for simple port control.
I overcame this problem in the following manner.
The app is written in VB2008.
There is a tiny second app written in VB6 that reads a number from a text file, converts it to binary and outputs the result to the parallel port.
When the primary app wishes to turn lights on and off is creates the appropriate number, writes it to the text file and launches the secondary app. The secondary app then writes to the parallel port and shuts itself down.
Thereby overcoming that little issue.
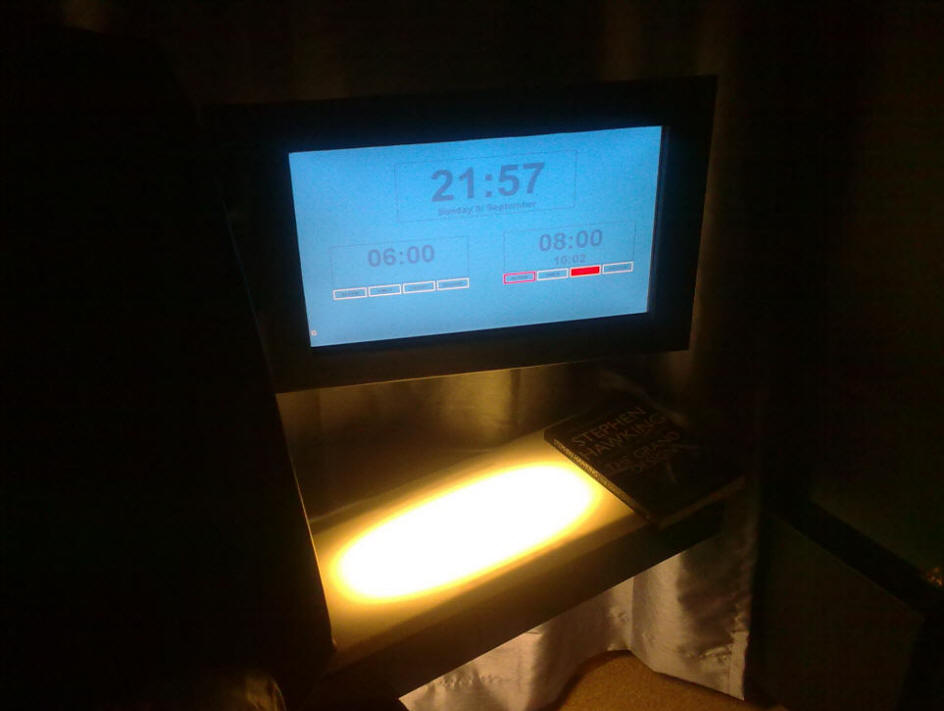
In the interest of maintaining the inherent confidentiality of my bedroom, I end off with only a partial photo of the completed product.
 |
Thank you for visiting my corner of the world. Please feel free to take a look at other items of interest on my website.