 |
PC DESK Mk 1 | |
About 2 months ago I got the idea into my head to build a new and different computer desk.
Something unique that no one else had. Something that was both visually appealing and easy to work with.
So began a long road from simple pencil sketch drawings to the desk you see here now.
As I progressed, I tried to keep a photographic log of each stage as it was built. I will try to give as much detail as possible as I go along.
 |
Lets Begin at the beginning. Sitting in the evenings, I began to discuss my ideas with my flat mate.
Slowly a picture began to form.
It had to hold all of my LCD monitors in a single row.
They all had to be at eye level, surrounding me as I sat at the desk.
There also had to be as little structural metal showing as possible.
Sadly I no longer have the original pencil sketches that I drew, but we press on anyway.
BUILDING THE DESK
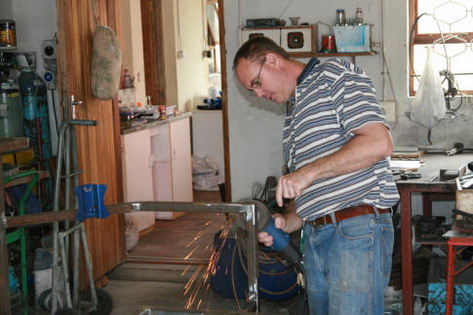
The first thing to was to get the metal structure of the desk built.I went to an old school friend, Chris Hill, who is a metal worker by trade.
I spoke to him about what I needed and what I was hoping to accomplish at the end of the day.
He advised me from a structural point of view as to how it should be put together to optimize strength and sturdiness.
Soon the design was finalized construction began.
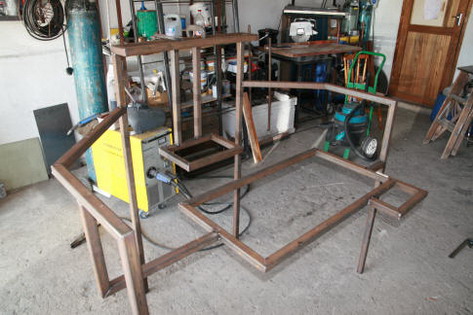
I include a few photos of the desk as Chris progressed with its assembly.
The metal was heavy duty 32mm mild steel with a solid 3mm wall thickness.
 |
 |
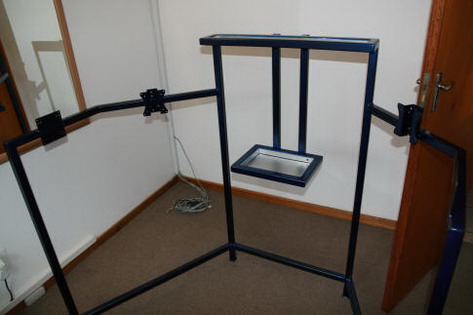
At this point, Chris has the basic structure tacked together to finalize and check the measurements.
Chris has fitted the the bases of the platform sections.
 |
 |
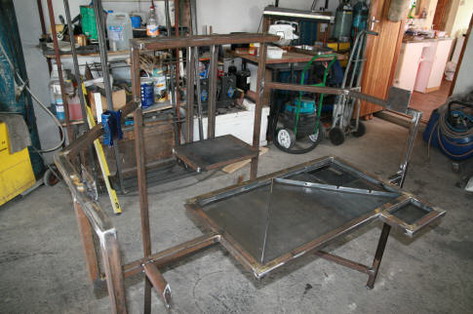
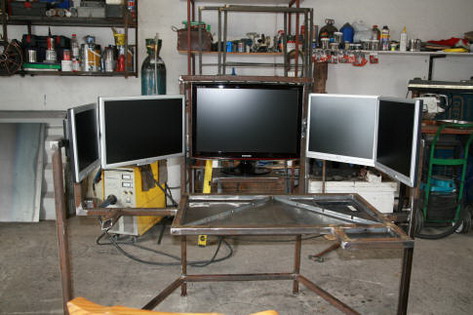
The monitors are sized and fit perfectly.
Chris finishes up before the undercoat goes on.
The structure was now complete and ready to be transported back to my house.
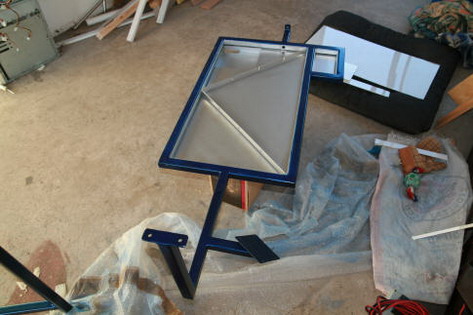
The next task was spray painting the desk. My colour of choice was electric blue.
Despite Chris's advice, I decided to use aerosol cans. It took 7 cans of blue and 2 of silver.
In the future I will use a compressor.
Everything was hung from the rafters in my garage and the spraying began.
 |
 |
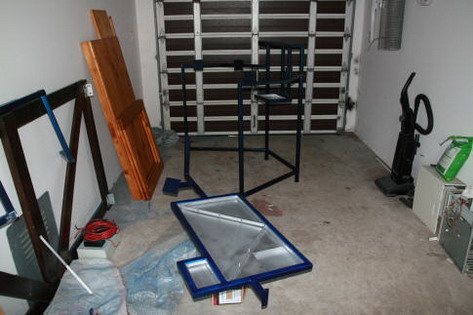
The desk disassembled into its two parts and sprayed dark metallic blue.
The Plascon electric blue has a deep sparkly finish.
 |
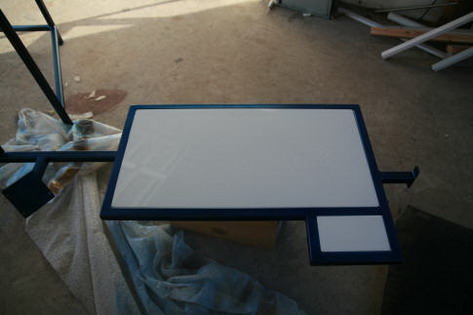 |
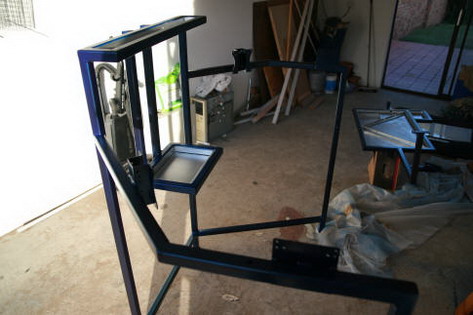
The inside of the desk section is sprayed silver to reflect the internal lighting.
The 5mm opal perspex is shaped and put in place as the desk top.
With the garage work completed, the desk was ready to be moved into the room.
There it would be reassembled and the fitting of the computer components would begin.
The original intention was to have lighting in the desk shining up through the perspex top.
This however proved to be impractical and lighting was only fitted to the top section.
 |
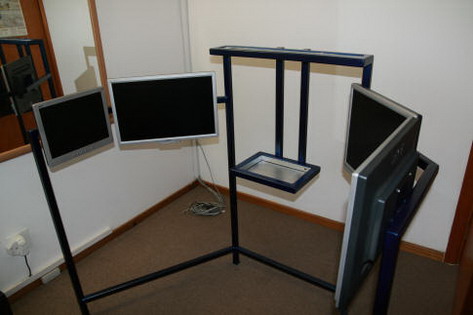 |
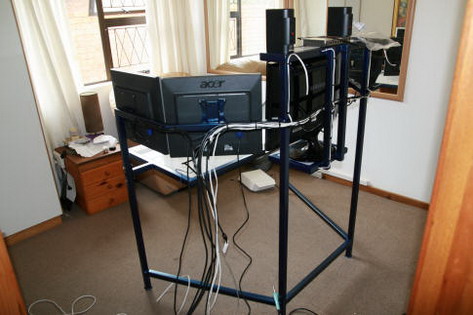
The main section of the desk is moved into position.
The mounted monitors are bolted in place.
 |
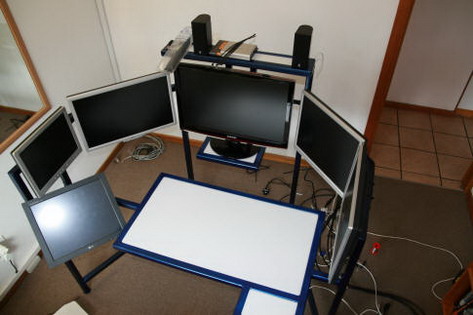 |
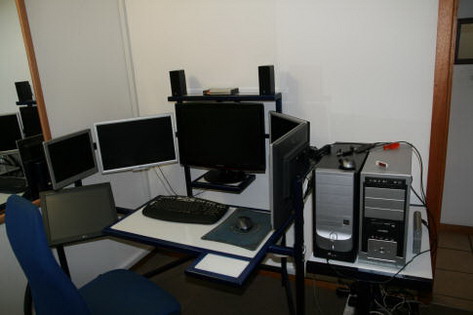
The main monitor, speakers and network switch are put in place and the desk wiring is done.
The desk section and touch screen are fitted and wired in.
 |
 |
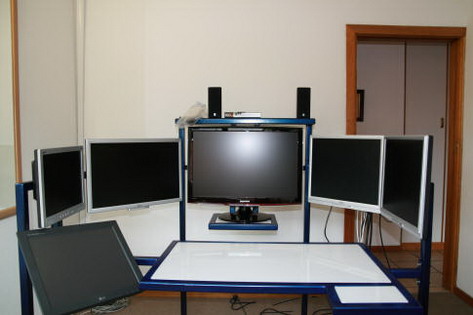
The project is now starting to take shape.
The desk section is opened and the mass of wiring is prepared for the PCs.
 |
 |
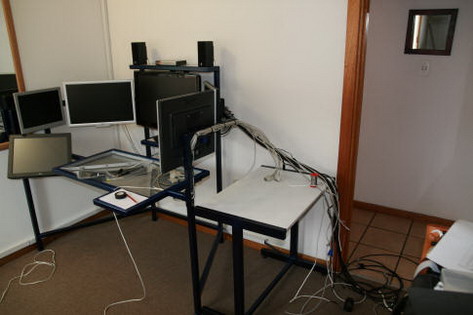
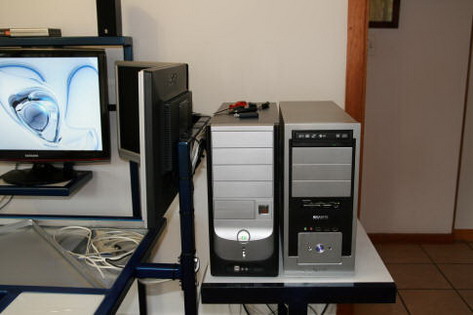
The PCs are put in place. I replaced my mini server tower with a standard sized casing for neatness sake.
The bulk of the equipment is now in place.
The computers are now able to run for the first time, but the project is far from over.
At least now, I again have a usable computer and can start getting a feel for my new setup.
The remaining items are the display inside the desk and the touch screen system which I will discuss next.
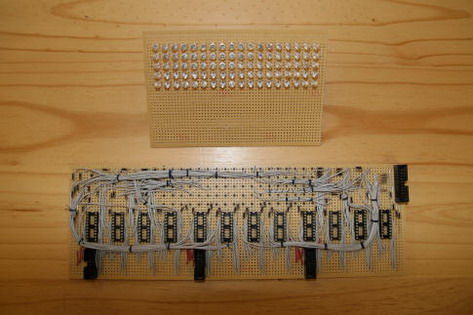
THE DISPLAY BOARD
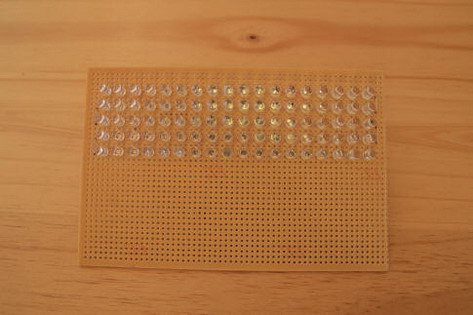
The desk display is a matrix of 5 X 19 high bright blue LEDs.
It has a control board driving it which I designed and built for this project.
The control board itself is controlled by 3 parallel ports in my secondary PC.
They pass information to the display from a Visual Basic application that I wrote for this purpose.
At the moment the functions of this display are only to tell the time, work as a stopwatch and make simple patterns,
but I have other more interesting plans for it later.
Thanks to Gary Swartz for providing the Visual Basic software for parallel port control.
 |
 |
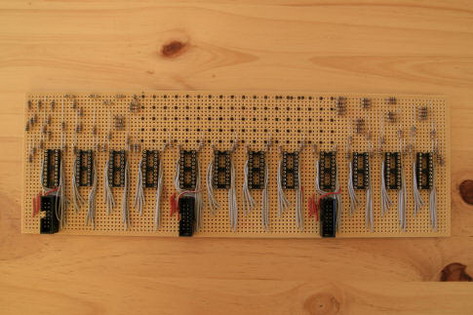
The basic control board is half finished.
The matrix of blue LEDs to make up the display.
 |
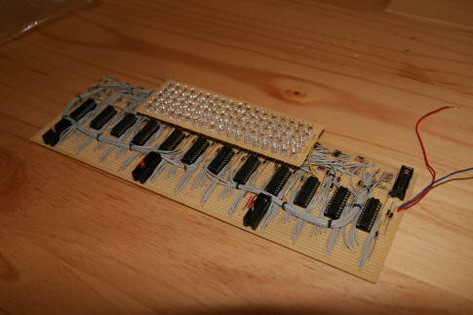 |
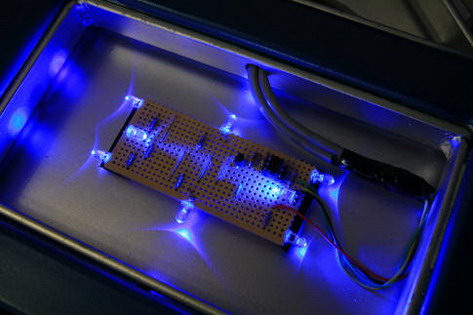
The control board is complete and the LEDs are ready to be fitted.
The display board is now complete and ready to be installed.
With all the parts installed the desk was now complete from a hardware point of view.
The remaining controller boards and lighting were fitted to desk and checked for correct operation.
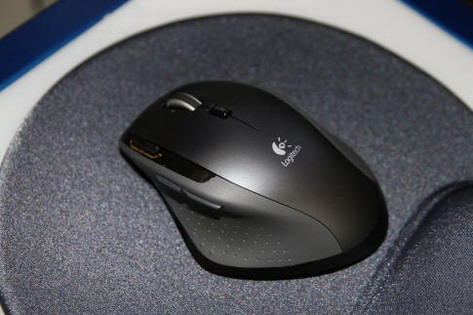
I also purchased a new Logitech MX 1100 cordless laser mouse for the desk.
I was unhappy about giving up my favourite G5 gaming mouse, but I wanted a cordless desktop.
The MX 1100, although not as smooth as the G5, is a brilliant mouse and worth its high price tag.
 |
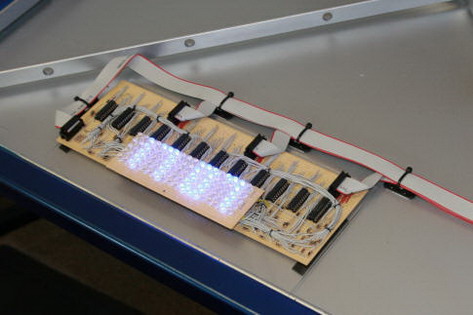 |
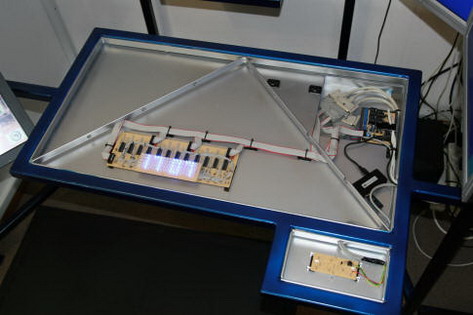
The top cover of the desk removed showing the control boards inside.
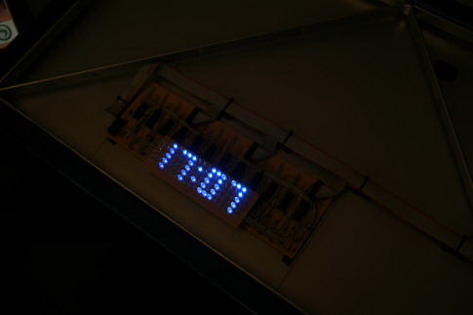
The display board in place and operating. Currently displaying the time.
 |
 |
The time displayed in a darker environment.
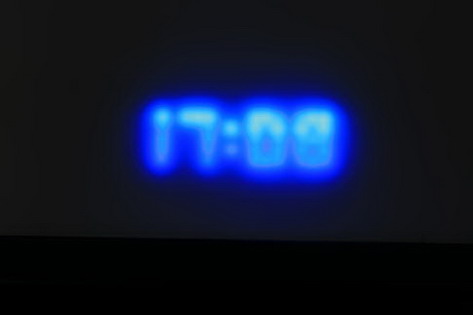
The time displayed through the perspex desktop. The halo effect only happens in the photograph.
 |
 |
This little controller sits in the small section of the desk top and flashes in sync with the primary PCs hard drive light.
The hard drive light lit up during hard drive activity.
 |
 |
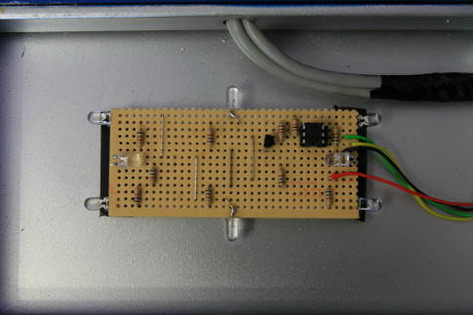
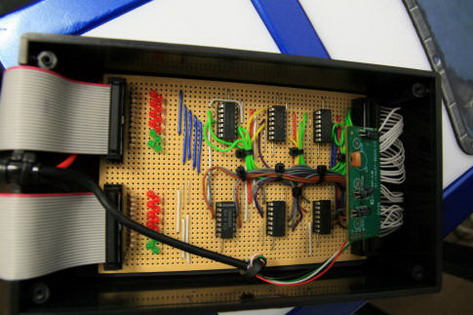
This power supply board supplies low voltage power to the display board and also contains relays that are controlled by the touch screen program.
The new Logitech MX 1100 cordless laser mouse.
THE TOUCH SCREEN
The purpose of the touch screen is to provide me with an easy and customizable means of interacting with my primary PC.
The screen itself is attached to the secondary PC in a multiple monitor configuration.
This monitor interfaces with a Visual Basic application running on the PC which provides the user interface on the touch screen, processes the incoming information and outputs the appropriate information to the remaining two parallel ports on the same machine.
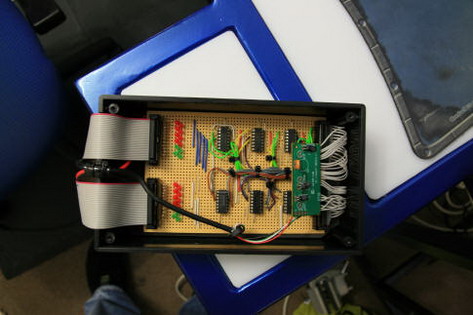
This information from these ports is passed on to another controller board that I designed and built for this project.
That board interfaces with a standard keyboard controller which plugs into my primary PC via USB.
The primary PC therefore sees this controller board as a standard computer keyboard.
In short, the touch screen passes information to the Visual basic program which processes it and passes information to the controller board via the parallel ports.
The controller board is the equivalent of of a person typing on a keyboard and this is how the primary PC sees it.
 |
 |
The controller board passing the parallel port information to the keyboard controller card.
The little green board at the back is a standard keyboard controller from a basic Aopen keyboard.
The touch screen is indeed the ongoing part of this project.
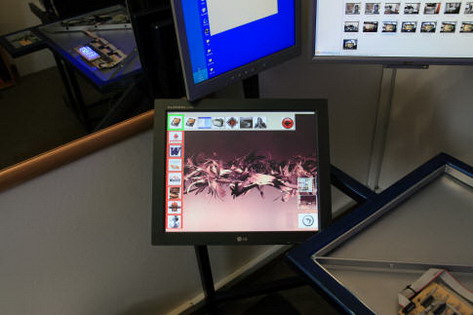
I first use it to log in to my primary PC. The sequence of digits changes every time allowing me to log on in front of anybody as the next time will be different. The symbols on the touch screen are borrowed from the Blade vampire movies.
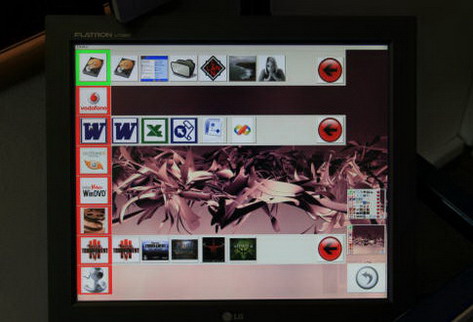
After that it is used to launch applications and folders on the primary PC.
Many of the applications will be operated from the touch screen, which will allow easy one touch operations of complex functions within the respective programs.
As one goes deeper into the Visual Basic interface, so the images and buttons on the touch screen change under the users fingertips.
Much effort has been put into the programming to make it not only user friendly and effective, but also visually pleasing.
This section of the project is ongoing as I add more screens with more functionality.
 |
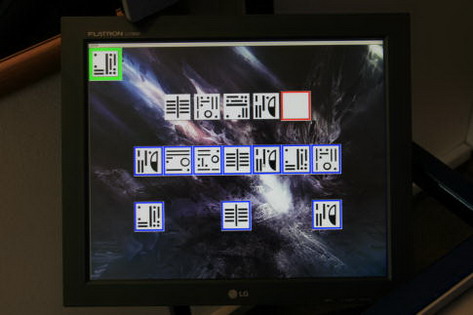 |
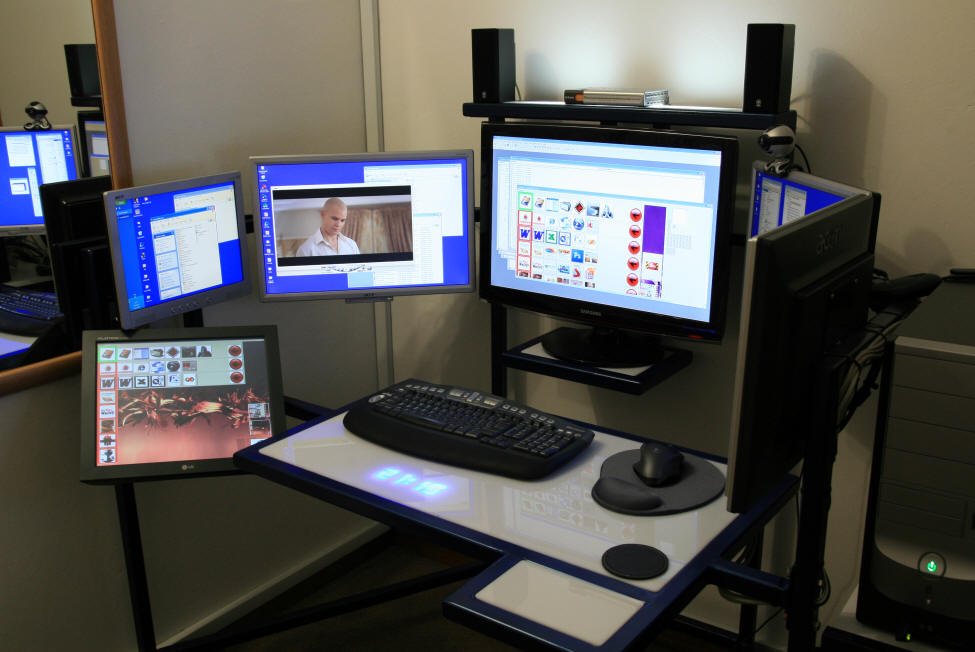
The touch screen in use, conveniently placed for ease of use with the left hand.
The Log in page changes its symbols in a random fashion.
 |
 |
The application launch page showing some of its buttons.
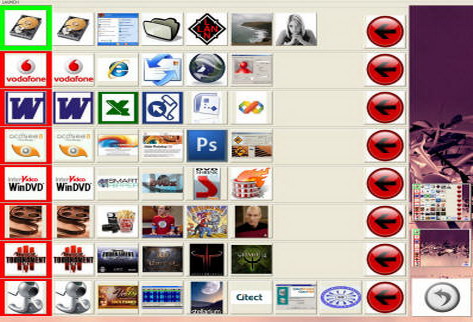
The application launch page showing all of its current buttons.
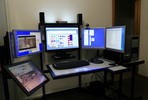
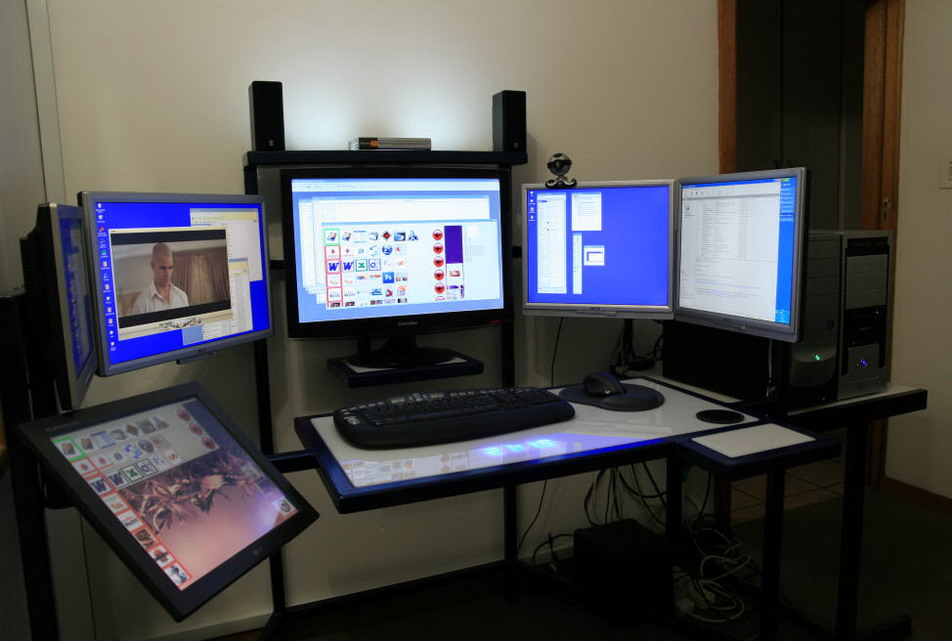
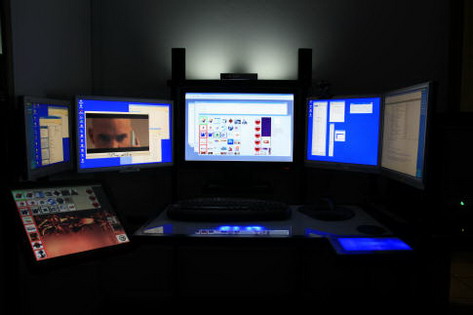
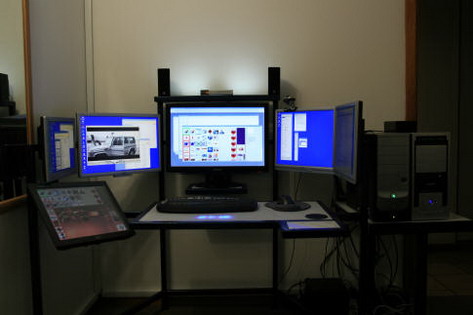
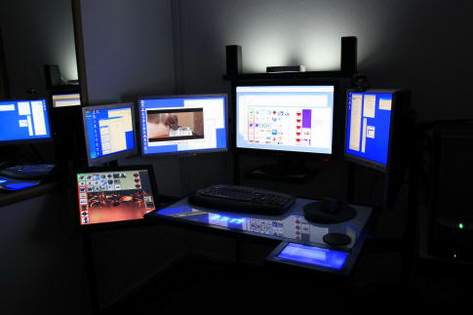
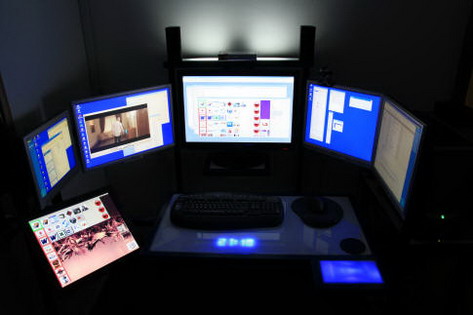
In conclusion, I present a few photographs of the complete project. Thank you for paying a visit to what has been an enjoyable and consuming project for me.
 |
 |
 |
 |
 |