 |
P3 UPGRADE 2019 | |
So a few months after rebuilding my PC desk to the version seen on this website, I decided that the time had come to discard my old multi-layer rig and rebuild something more suited to the room as well as to modern PC trends.
Together with fellow tech enthusiast, Gary Swartz, I began the planning of my new mod.
He too decided to do a similar upgrade, so we walked a similar but different path together.
I hope to add his project to this website once it is complete.
My build would be based on the P3 Chassis made by Thermaltake.
It would be my first build to incorporate liquid cooling and would move entirely to SSD storage.
I also wanted it to be wall mounted for display and space saving purposes.
Although it was built in several variations as parts became available, the final product is the result you see below.
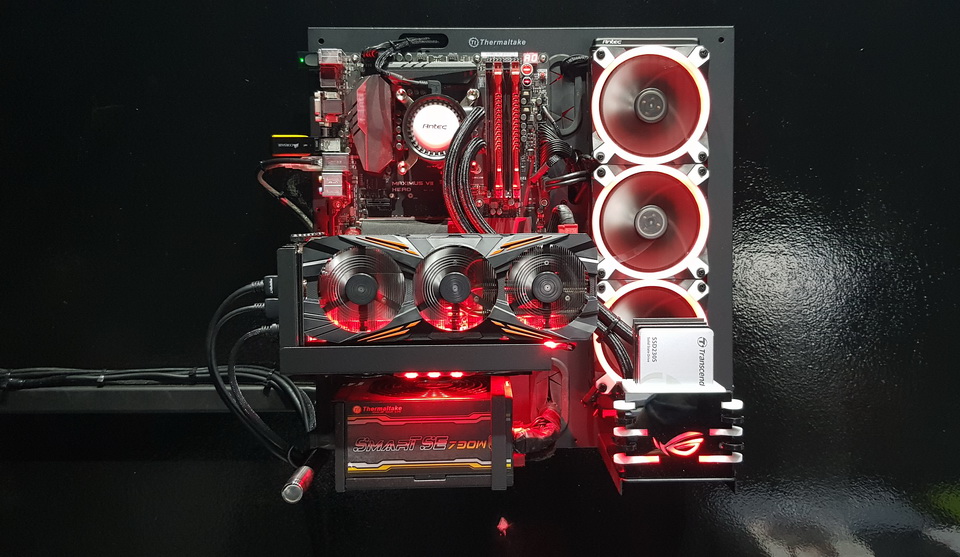 |
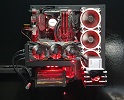
The Thermaltake P3 case is perfect for the enthusiast who wants to display his hardware.
Thermaltake actually have a full range of similar open cases varying from smaller than this to a lot larger.
It also allows for a multitude of different configurations. This gives the builder a variety of options for hardware selection and layout.
In the spirit of current computer modding, I decided to incorporate some RGB lighting.
Although some components are RGB capable, I decided to go with "R" only.
The red glow against the grey body creates an industrial look that I rather enjoy at the moment.
This makes the PC look somewhat aggressive when the room is darkened.
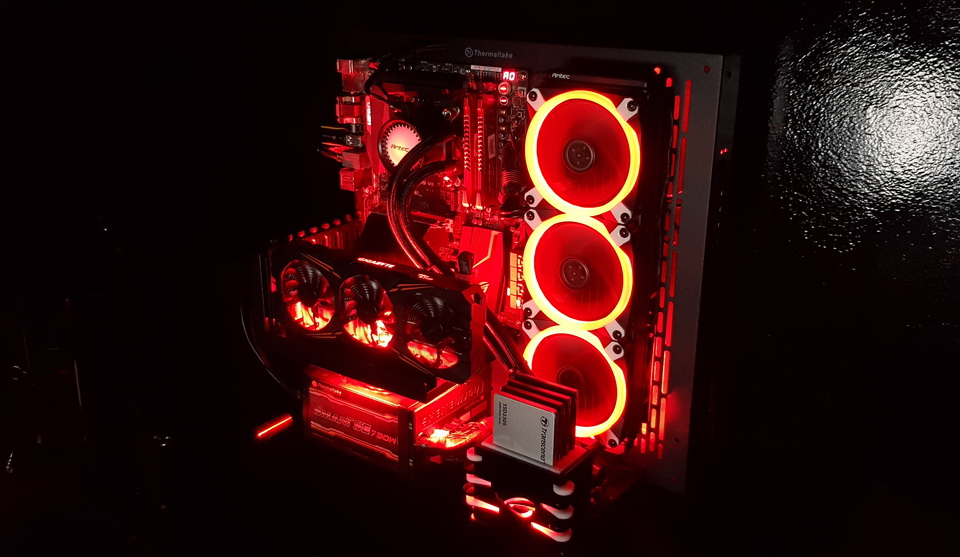 |
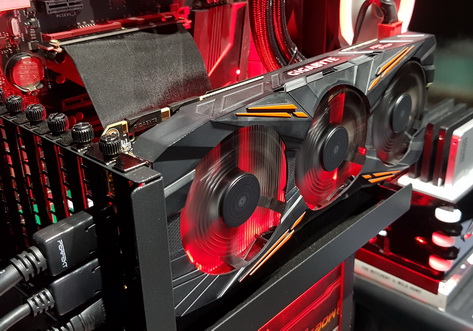
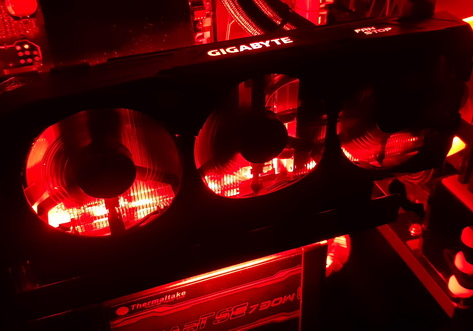
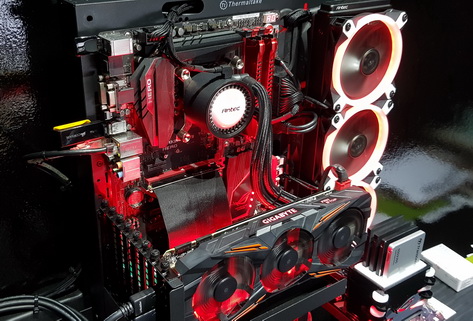
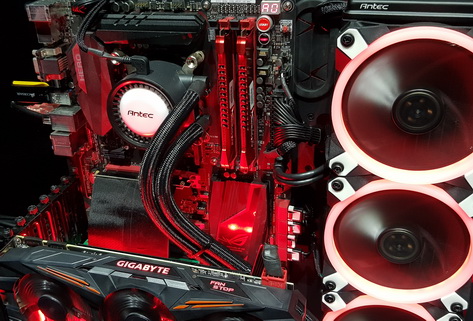
The P3 chassis allows for vertical mounting of the graphics card.
This was the obvious choice for me as I wanted to display my Gigabyte G1 1080 Gaming Card.
The powerful new addition to my PC.
Red lighting placed under the heatsink gives the appearance of a heat glow on the G1's heatsink fins.
 |
 |
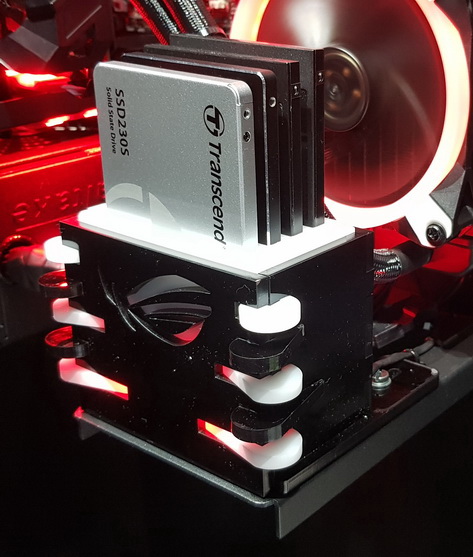
Although I have been using Solid State Drives for some time now, I decided to remove all mechanical drives and go all SSD.
My OS drive is a 1 TB drive made by Transcend. There are another 3 SSD's and 1 NVME behind the graphics card - thus creating a combined 2 TB of Solid State Storage.
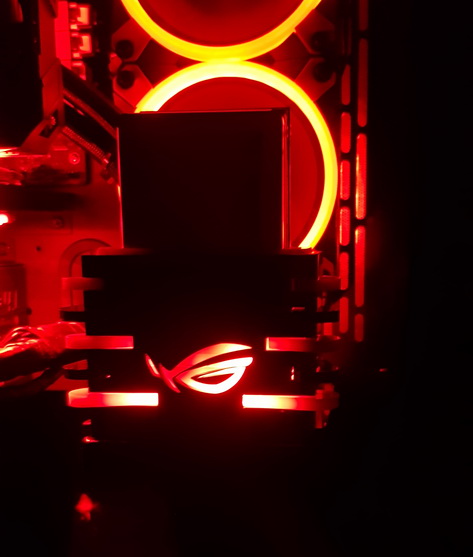
I built the custom drive bay from CAD designed, laser cut Perspex.
Gamers will be familiar with the ROG symbol lit from behind.
 |
 |
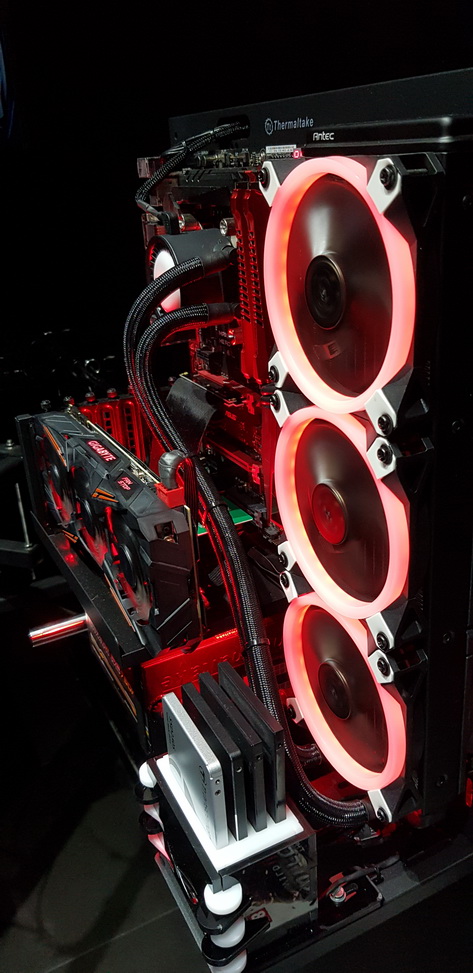
The next big step was the liquid cooling system.
There are so many options available - Open Loop systems which can be hugely elaborate and beautiful and Closed Loop systems that are more functional and easier to install.
After much deliberation and research I decided to go closed loop while Gary decided to take the open loop road.
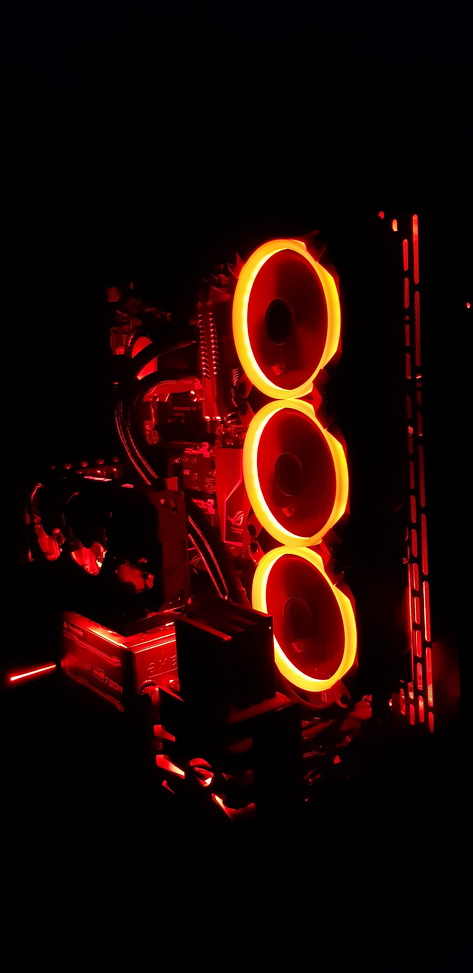
My first rendition was a single fan radiator from Thermaltake. This was soon upgraded to a 360 - or 3 fan radiator. I had my heart set on the Cooler Master product, but due to supply issues I purchased the Antec Mercury instead.
In addition to the 3 RGB fans that came with the kit, I fitted another 3 fans at the back of the radiator.
This creates a push-pull configuration and also makes the radiator look a lot beefier.
Even as I type this text I have ordered a new set of RGB fans to replace those that came with the kit.
The reason for this is noise reduction. The original fans are way too loud and therefore must be swapped out with a set of 19 dBA
RGB fans from Phantek - the upgrades never really end.
 |
 |
As for the board, chip and RAM - that remains to be upgraded.
The Asus ROG HeroVII still holds the legendary i7 4790K.
Although in the enthusiast
world this processor is due for upgrading, it is still more powerful than anything bought over the counter today.
I have not found any application that can tax it - so it will have to fight on a little longer.
 |
 |
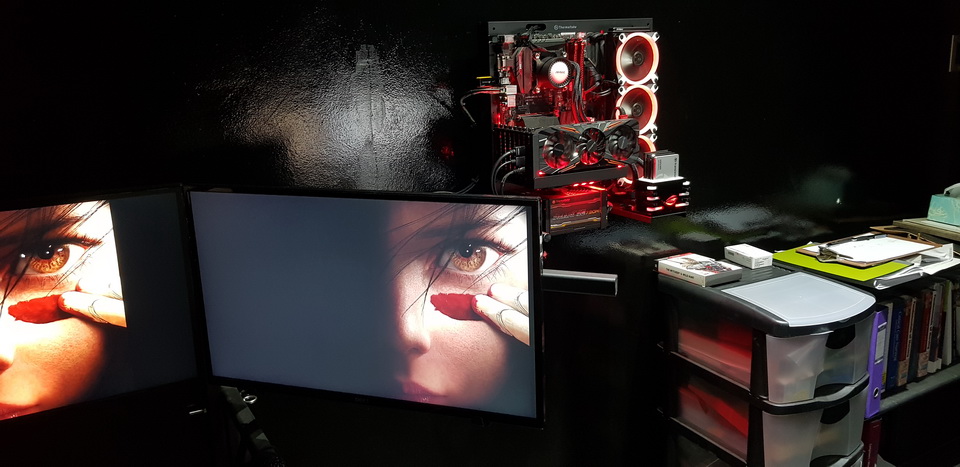
Lastly came the mounting.
I decided to wall mount the PC to the center of the front wall just right of the desk.
This proved to be neat, practical and aesthetically pleasing.
 |
This has been a pleasing but lengthy build.
Enthusiast level kit is expensive and often hard to acquire in this country.
It is however done and I am well pleased with the result.
 |
|
A BRIEF HISTORY | |
As I mentioned earlier, this build took place in stages as parts became available or as I changed my mind on certain aspects of the build.
Here follows a brief pictorial of some of those earlier renditions.
The original construction and software installation.
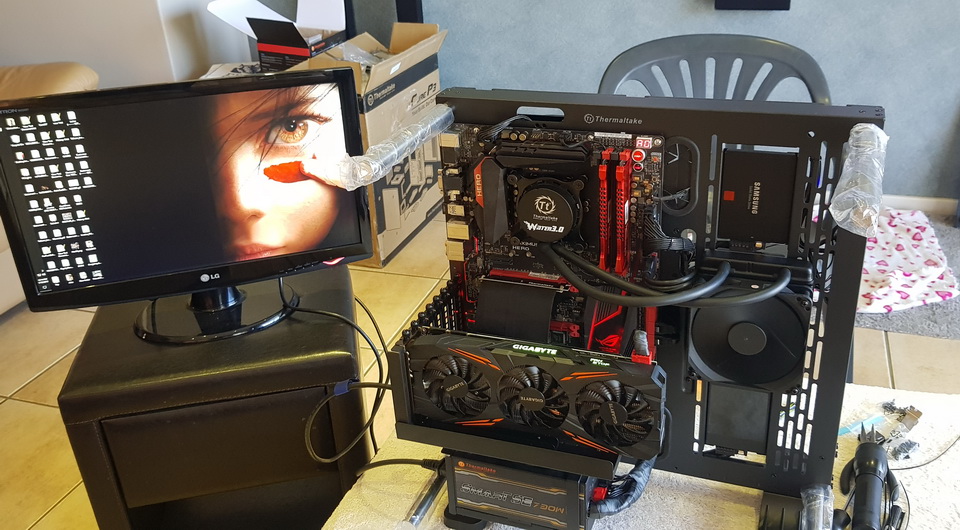 |
First mounting
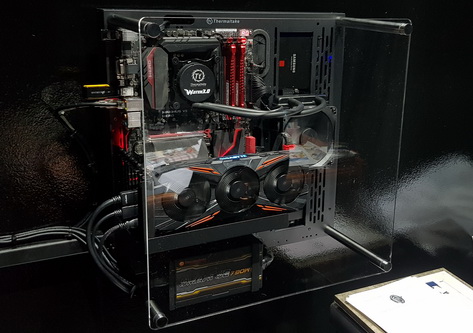 |
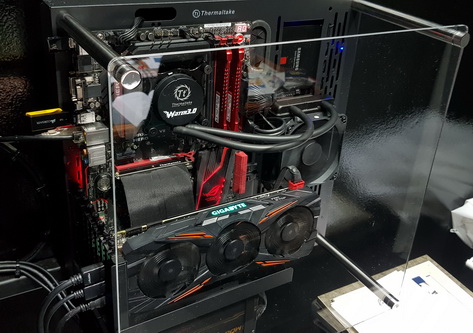 |
Just before the final update
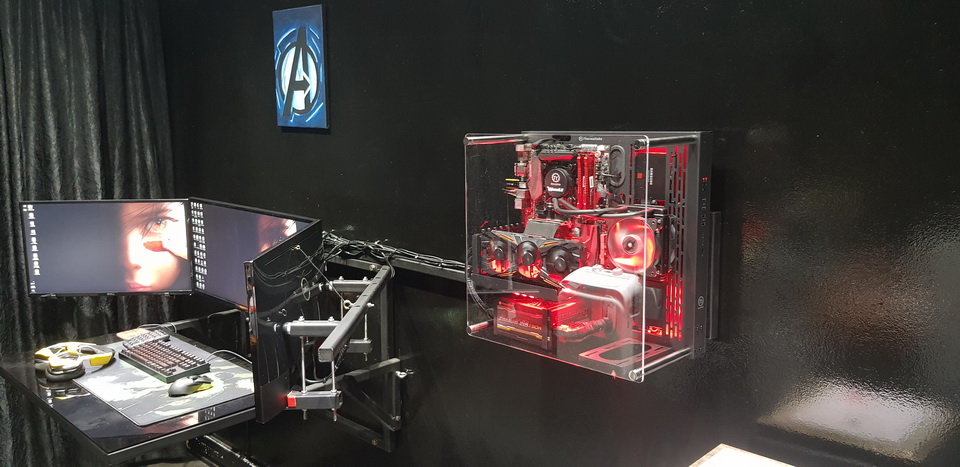 |
As she now stands - at the time of posting.
|
Thank you for taking a look at my latest work.
Please come back soon to see my next project - whatever that may be.